Showing posts with label Adventures in decorating. Show all posts

Tuesday, October 25, 2011

I bet you thought I'd never post photos

Some time ago I fin9ished Em's bathroom.  Yeah, yeah; I promised photos and then left you hanging.  It's part of my charm.

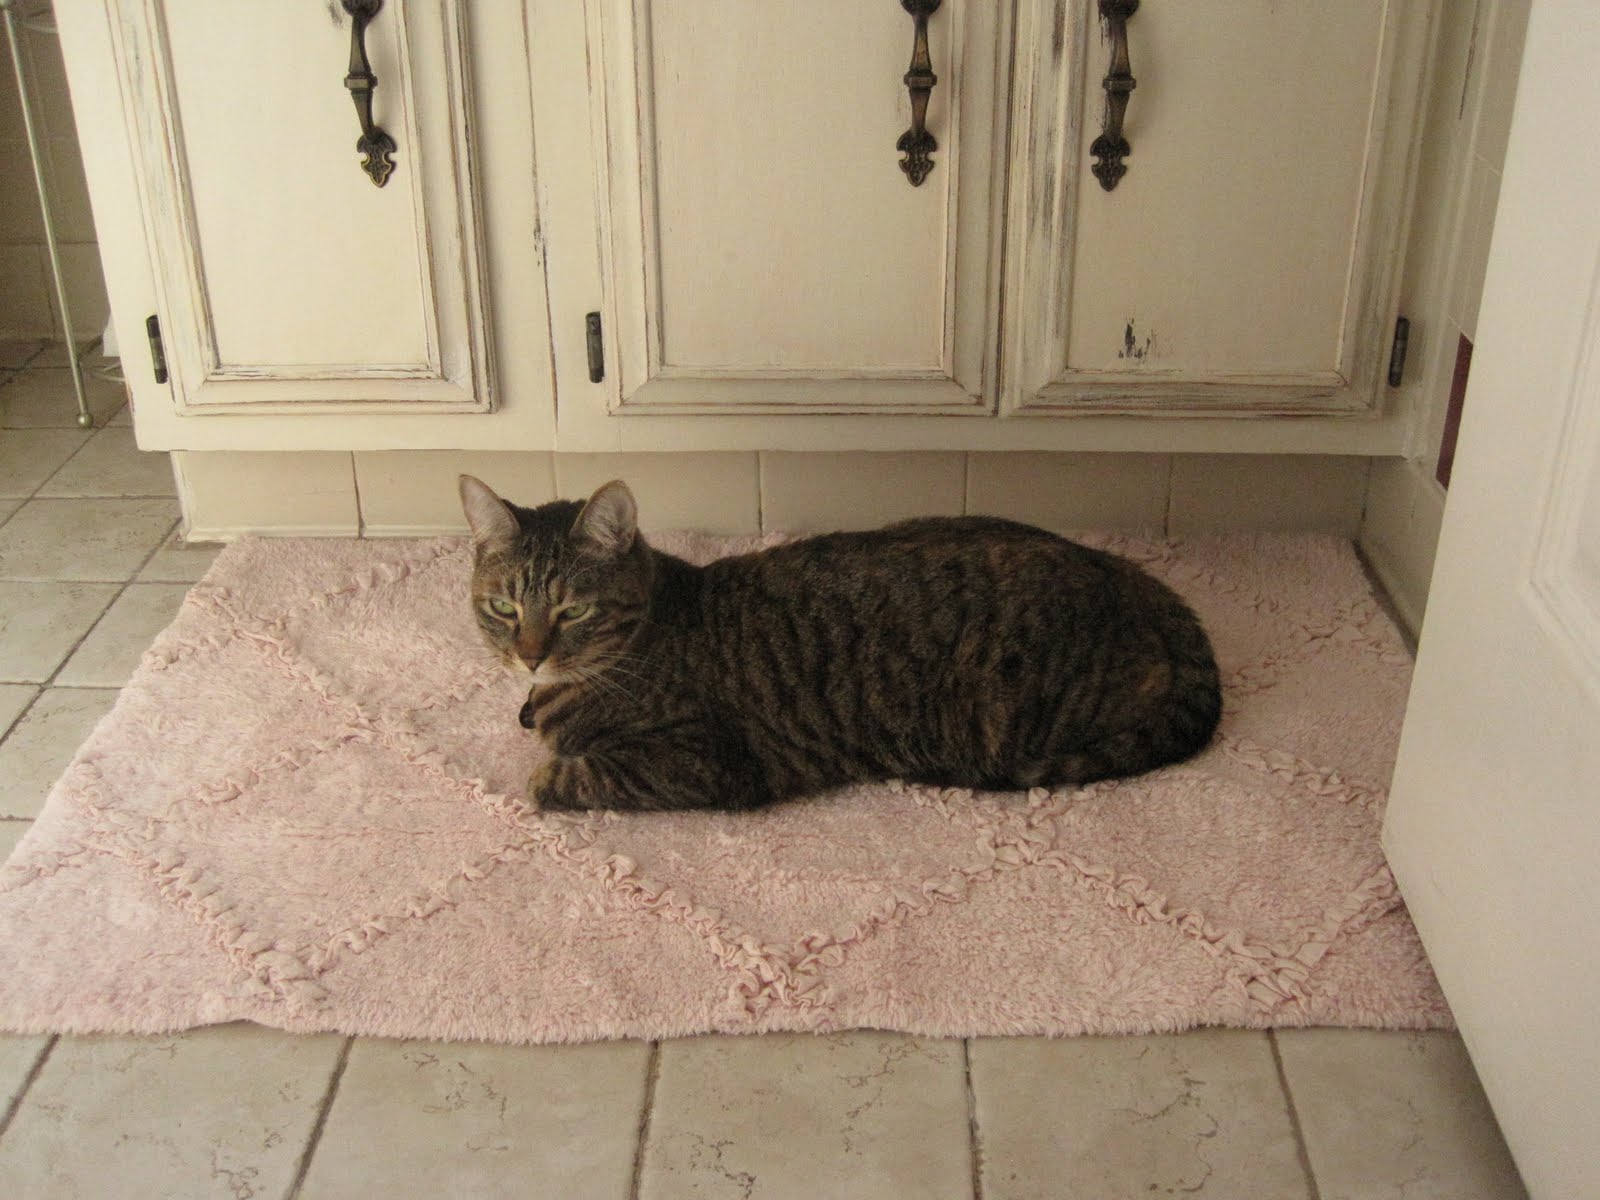
When I last clued you in I'd painted the bathroom beige and opted to shabby chic-ify the cabinets. In addition I made a shower curtain inspired by this shower curtain (from Anthro, of course).

Sculpted Mums Shower Curtain
I also added an accessory or two, bought bath mats, and got some pink towels. Wanna see? Okay, but fair warning: small spaces are super hard to photograph.

Wall one, to the left as you walk in the door: Cappuccino White paint, a few shelves thanks to our neighbor friends, accessories, and fluffy pink towels.


Wall two is pretty much the bathtub.  Feel free to admire my painstakingly constructed Anthro-inspired shower curtain.


Wall three, the one directly across from the door, has a lot going on - toilet, window, and vanity with mirror. If you look next to the toilet you can see my nifty toilet paper holder. Now Emily doesn't have to strain to reach the TP all the way on the opposite wall.  Funny how a small bathroom can seem so much larger when the toilet paper is out of reach.


Since these were taken I have also added a sweet little table top towel stand for Em's washcloth and a few headbands. It look similar to this one from Bed, Bath & Beyond.


The fourth (and final) wall has the medicine cabinet.  I removed the mirrored door early on because, really, it was just too much mirror.  Painting the remaining shelves has been a bust, however. Bummer. The towel ring looks good so that's...something.


And this concludes the tour of Em's bathroom. If I owned this house there is a lot more I'd do. I'd love to take some of the superfluous vanity space from the master bedroom and add it to this bathroom.  I'd also like to replace the floor (or at least re-grout it) and the bathtub.  There isn't anything wrong with the tub, I just think a claw foot number would be super chic. Most importantly, I'd add a vent fan.

Alas, I do not own this home. I am therefore, calling the bathroom "done for now" and moving on. Any guesses on which room is getting the Janice treatment next?


Saturday, July 30, 2011

Sunday, July 17, 2011

If walls could talk they would die laughing at me

Okay. The bathroom. I have more or less sanded and painted it into submission (cue villainous laugh).

The gray paint (from waaaay back when) was a semi-gloss and the sheen brought all of the pock marks into sharp relief. I guess the upside is that it gave me the opportunity to do a more thorough spackling job. So even though the gray was definitely light in color, I had to prime all the walls so the new paint would go evenly over the old paint and the oodles of spackle patches. Some areas were actually more spackle than anything else.


This time around Kilz did not make an appearance. Instead I went with some primer our landlords had left behind.


It worked beautifully! But it stank with a capitol STANK! Ugh.  I seemed to have survived, but I must've lost some brain cells because I totally forgot to photograph the fully painted bathroom. You aren't missing much - it was very beige.

The walls are beige - ahem - Cappuccino White. The tile is greige and maroon.  The floor is...um, old. So guess what no longer fits into the equation? The cabinets.


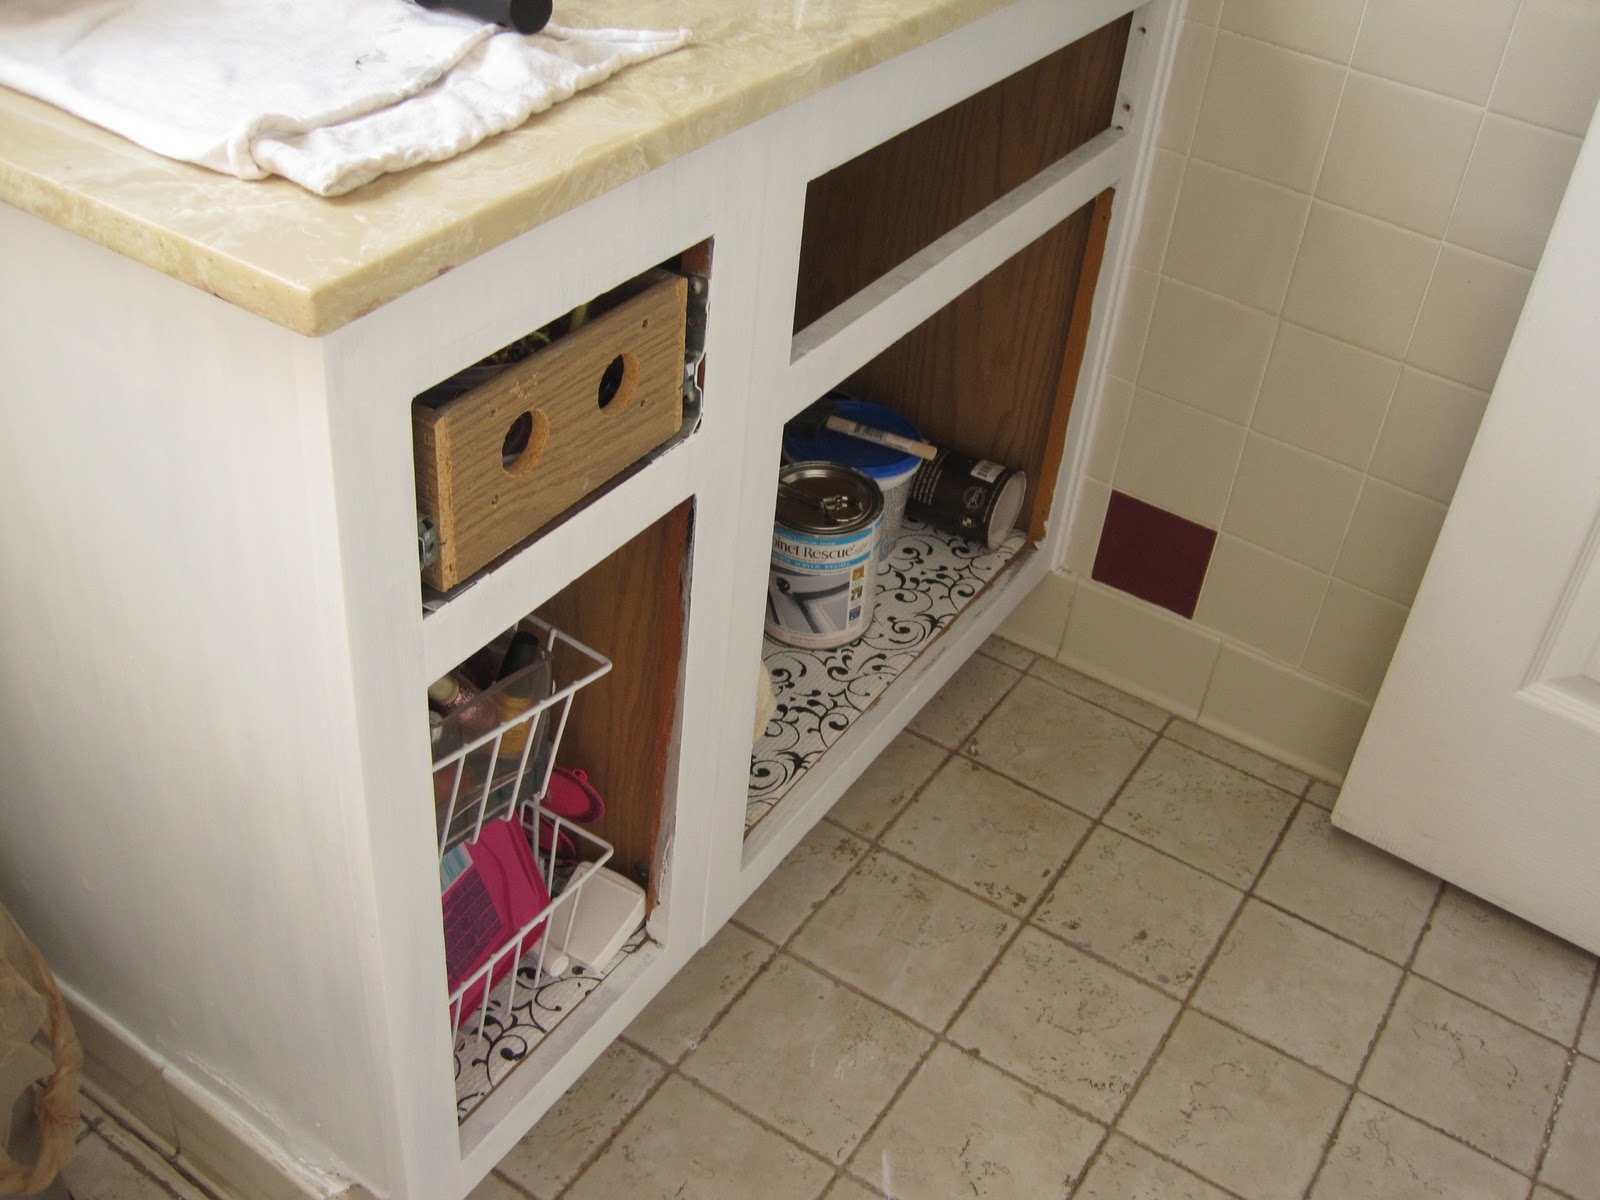
That's right, I was eight coats in to making the cabinets white. Well, that wasn't going to work any more. Out came the sand paper.  Really, it wasn't too bad. I decided a shabby-chic look would work well. Shabby is not too hard to accomplish.  It is the chic that requires all your energy.

Saturday, July 9, 2011

Wednesday, June 8, 2011

Did you miss this bathroom?

Okay, I lived with it for a couple of weeks. Occasionally I'd drag Ben into the bathroom with me and make him analyze the gray walls. Sigh, we were in agreement: no matter how much we love that shade of gray, it does not work in this bathroom.

Back to the paint chips we went. This time Emily selected Cappuccino White by Glidden.


I'm not in love with it, but it does match the tile.


We are pretty much back to singing our favorite refrain around here so we can get the walls ready for a new new coat of paint.

...Wipe, sand, spackle, sand, wipe, spackle, sand...

Monday, May 23, 2011

A-Door-Able

Is it just me, or would this be the perfect room divider between out computer nook and our living room?


Cute, right?!

If you want to see this particular piece of inspiration in person get yourself over to The Lemon Wedge in downtown Bryan, TX. Besides loads of cute decor to admire, they have eggs benedict worth selling your soul for.

Oh, and take this lady when you go.  She makes fabulous company and looks oh so sweet sitting in that green dining room.

Monday, March 21, 2011

Adventures in Decorating: progress photos

Eventually you guys are going to get tired of reading about my work in the bathroom. Right now is a particularly frustrating time because work is being done but results are barely visible which is never a rewarding combo. So instead of blah blah blahing, I'm just going to give you some photos of where things stand.
Cabinet Rescue coat #4


Cabinet doors sanded

 
Those outlines of the hardware? Yeah, that's grime. Try not to gag.

While we are waiting for next weekend when I can add more coats of Cabinet Rescue, let's look at some finished bathrooms. It'll help wipe the thought of cabinet grime from your mind.
from Rue via Design Darling
Houzz via Pinterest
Mmmmm. That's better.

Monday, March 14, 2011

Adventures in Decorating: Splish splash still working in the bath

When "renovating" a bathroom there is something you need to know. Painting cabinets is stinky work. Also, read the directions.

I actually did read the directions the day I bought my can of Cabinet Rescue. You know, over a week ago. It said I needed to sand the cabinet to be rescued. Obviously, the stuff needs a roughed up surface so it can stick. Naturally, that means I need to sand with 60 grit sandpaper (the lower the number the more course the paper).

 Yeah. About that. The directions definitely specify 220 grit. It makes a pretty big difference.
Turns out, there is a difference between roughed up and totally mangled. 

The next step is to prime.  This isn't necessary for laminate pieces, but our cabinet was (I think) stained  wood pressboard with obvious water damage. The recommended primer is an oil-based, stain blocking primer, which I had on hand. Considering my last experience priming with Kilz, I should have bought something else for this project, but I really wanted an opportunity to drive the point home: Kilz sucks. Okay, I take that back. Sort of. The Kilz did the job of priming the cabinet.
It is, however, ridiculously runny and does not live up to its label as being odorless.

On Sunday, my apprentice showed up to help with the first coat of Cabinet Rescue.
 I'm signing her up to do ads for this stuff! She's so stinkin' cute. And she did a good job. She was in charge of the front area while I handled the side and any necessary touch up. Note: when working with a six-year-old touch up is always necessary.

 There are a few things you need to know about working with this product. First, they are not kidding around when they tell you to work in a well-ventilated area. The vapors really sneak up on you, especially since the smell is no where near as prominent as in, say, odorless, Kilz. Luckily, the paint goes on quickly and our cabinet is small so we were only in there for 10 minutes. Second, give yourself plenty of time. (Also, read the directions). I stopped after one coat because I knew Em would need to be in there later that day to take a bath and brush her teeth before bed.  You can actually do your second coat two hours after the first. 
BUT
The total time needed for the new finish to cure is 20 days. Yeah, you read that right.  It can stand "light use" within 48 hours, is resistant to fingernail scratches in 72 hours, but will not be ready for regular use for 20 days. Wow. In the future, I'll wait 'til Em goes away for the summer before refinishing cabinets.

Wednesday, February 16, 2011

And the adventure continues

If you Google "priming with Kilz" you will find many many many warnings to, well, not prime with Kilz. Know why?


I don't really think I need to explain much about that photo. Kilz is a lousy primer. Now you know.

So scrape, sand, prime, paint again aaaaaand...
Yeah, I ended up with three cave-ins. At this point I am pretty sure the bathroom is just taunting me.

By now you all know the words so feel free to sing along - spackle, sand, prime, paint, paint, paint.


The walls are painted!
I love this gray.  It is such a calm color. I am, however, disappointed to find that instead of bringing out the gray in the tiles the paint seems to have made them look more mocha in hue.  I had selected this paint shade as opposed to a sparkling white to avoid making the tiles look dingy.  Now it just sort of looks like I'm fighting against the original color scheme. Whatever. The walls are painted.

There is still  much to be done: ceiling, cabinet, towel racks, towels...But my friend Tiffany is here this week so I had to sort of put the bathroom back together. Even though it slows progress, I like having to return the bathroom to a functioning state each week because it gives me a chance to evaluate the effect of each step on the space.  Even if that step reveals mocha-colored tile.

Monday, February 7, 2011

Adventures in Decorating: Sloooow progress on Emily's Bathroom

I'm sorry blog updates have been so inconsistent lately.  Trying to do one thing at a time has not done too much to cure me of taking too much on. Guess we know next year's resolution...

Last weekend I spent some time spackling Em's bathroom.
Then I went back and spackled some more. Because of the fun. I also taped (until I ran out of tape).
I realize these pictures are of two different walls, but you can trust me - they both looked like a study in abstract art and white clay.

On to priming! Because we suspected mildew was starting to stake a claim in the un-vented bathroom, I used Kilz as a primer.
*On a side note, who doesn't put a vent in the bathroom? I swear this is a house of oddities.  Adding insult to injury, the downstairs bathroom -the one WITHOUT a shower- has a vent fan.   Seriously, people?)
Back to the actual priming. My husband is awesome.  He bought me a low odor Kilz product for small spaces. Kilz is less awesome.  I "primed" the wall and in return the wall started peeling:
This is the wall across from the window and mirror - the one with the toilet paper dispenser mounted directly under the towel bar
Ooooookay. Well, that sucks. So I scraped and spackled some more before priming again, this time with a stinky latex-based Kilz.Stay tuned to find out the train-wreck that resulted directly from that decision.

Wednesday, January 19, 2011

Adventures in Decorating: Emily's Bathroom Cont.

Seriously you guys, it took maybe a day to peel that wallpaper off of the bathroom walls. Well, to be honest, I only took off the vinyl top layer.  The portion with the glue is still mostly attached to the wall and I intend to keep it that way.  Is this the "correct" way to remove wallpaper? Probably not.   But if I'd opted to continue scoring and wetting and scrapping I would have something that resembled a bathroom less and a demolition site more. In short, big sections of the sheet-rock paper started coming off  with the wall paper leaving me with crumbly wall scats.

There are also a great many areas with green speckling. Ewww. If those speckles are what I think they are, I don't want to risk exposing the actual sheet-rock to mildew. It would really put a damper on the relationship with my landlord if I caused the bathroom walls to rot from the inside out.

Now let me tell you, I am such an awesome hostess I let my friend Sarah use the bathroom in this condition for three days and I forced her to help me work on it.
To this day she insists she didn't mind which is a good thing because once we masked up and spent an hour or so sanding the walls looked like this:
What? It doesn't look any different to you? Yeah, us either.  You'll have to trust me when I say the surface area is 10 times smother.  If you still don't believe me take a look at the wallpaper/wall particles we managed to get EVERYWHERE.


If you think I made Sarah clean that crap up you're absolutely right. I also made her take the family and me to lunch. Then I kissed her good bye and took her happy butt to the airport. I bet she shelled out the extra $6 on the flight home for a strong drink.

When I got home from a short, but sweet good bye with that sweet girl, I discovered Ben had spent some quality time in the bathroom as well.
Yea!  We can put in recessed shelving like I wanted! But that isn't even the best part.  The best part is that once upon a time, somebody felt this was a superb choice for bathroom wall paper:
Rock on.

Monday, January 10, 2011

Adventures in Decorating: Emily's Bathroom

I'm trying hard to stick to my resolution of One thing at a time, or if you like, finish what I start before starting something else. So even though I want to do more in the Family Room and Emily's Bedroom I'm leaving them alone for now because they are in a state of "done for now." Before Christmas I started on Em's bathroom so that is the one thing I must handle at this time. And it needs it.

Ben took these photos when he signed the lease.
 That cabinet thing was relocated to the garage during week one of our lease. In its place are some nice holes.  Some holes held screws that supported the cabinet.  Some holes were there to give the cabinet something to hide.
There are some pros here. First, there is a window that is frosted for privacy and opens for ventilation. Can I get a shout out for my good friend Natural Light?  Second, the showerhead rocks and the tile shelves in the shower are great. And that is pretty much it for the pros.

And now the cons.  Some things we can fix, but a few we have to leave alone. Keeping that in mind, here's my plan.

1. Remove wallpaper. Duh. It was actually already peeling so something was going to have to be done whether we liked the wallpaper or not.  We did not.

2. Paint.  You can see a few dark gray paint samples on the wall. Those were Emily's choice and, at first, I was willing to go with it. Now, I'm a little nervous about using such a dark color in a bathroom that isn't actually ours.  I think I'll go with a more dove gray or pearl gray in the hopes that it brings out the gray in the greige tiles. I also want to repaint the ceiling shower in a bright white.

3. More paint. This time on the vanity.
That sucker is nasty. Ben is skeptical about being able to strip and repaint it successfully but I'm pretty insistent on account of the overwhelming grodiness.
I have more plans. Way more. But these three steps will take awhile, and I'm still trying to tackle that whole "one thing at a time" beast. I'm hoping to rope Sarah into contributing some manual labor when she visits next weekend because I'm a really classy hostess like that.